Build 02 · Woodworking
The Grow Box.
I had the idea. My friend Mark showed my son how to make it real.
— he measured. Mark cut. I mostly watched.
Ages 5–10 An adult does the cutting A weekend Cedar, screws, soil
Why we tried it.
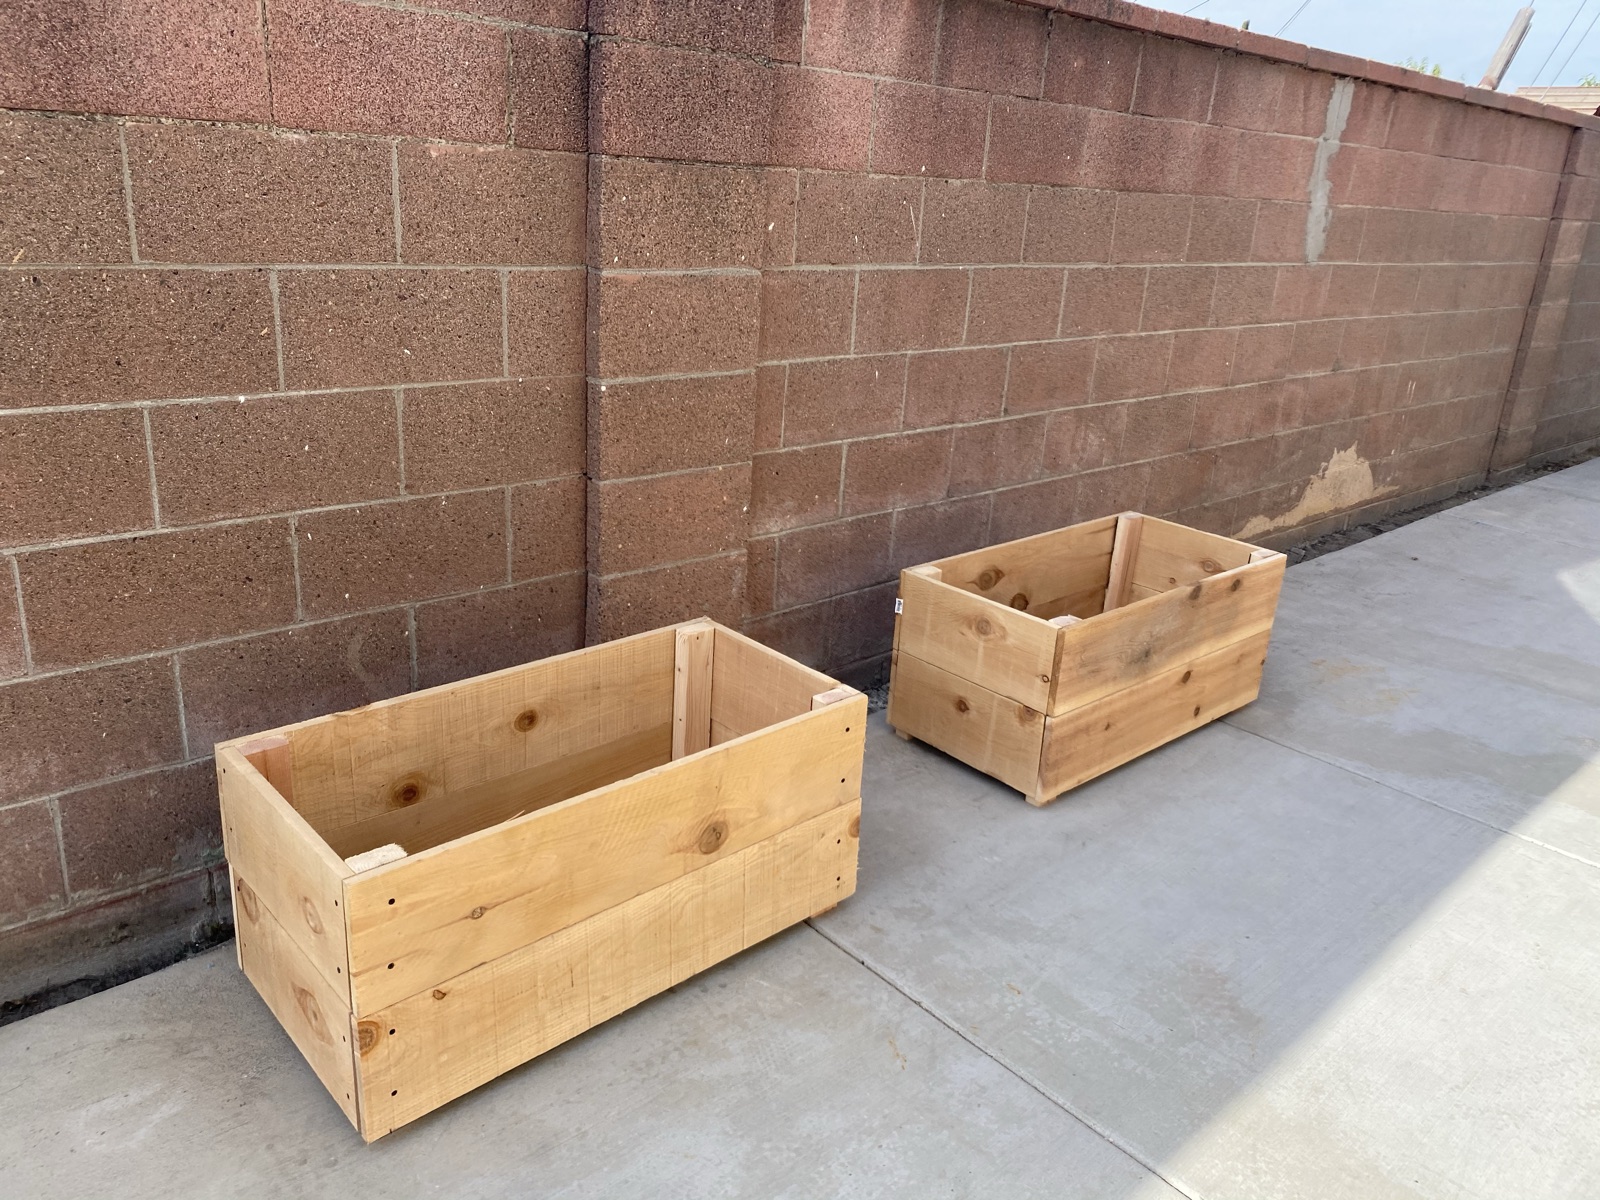
I'm not a carpenter. The idea was mine, but making it real was my friend Mark — he's the one who knows his way around a saw. He built the box with my son while I mostly stood back and watched.
And watching was the point. My son got to see someone plan. Mark mapped the whole thing out first — what size, how many boards, where every cut went — before he touched the saw. Then he turned that plan into steps a kid could actually do.
Mark did the cutting. My son did the measuring — holding the tape, reading the number, marking the line. The two of them turned a rough idea into a real box, and my son had his hands on every step that was safe for him.
the plan came before the first cut. that's the lesson.
How it goes.
-
one
Draw it first.
Sketch the box before you cut anything — the size, the boards, where the cuts go. Half the lesson is the kid watching the plan come together.
-
two
The kid measures and marks.
Tape, pencil, square. Measuring and marking is a real job — hand it to the youngest.
-
three
A grown-up cuts the boards.
Keep the saw with an adult. A miter saw is fast; a handsaw and a square work fine.
-
four
Screw the boards to the posts.
A post in each corner. Screw the four walls to them, then a base with gaps so water drains. Pre-drill, then let the kid drive the screws.
-
five
Paint it, then plant it.
Let them cover it — paint, names, handprints. Then soil, seedlings, and a label by each.
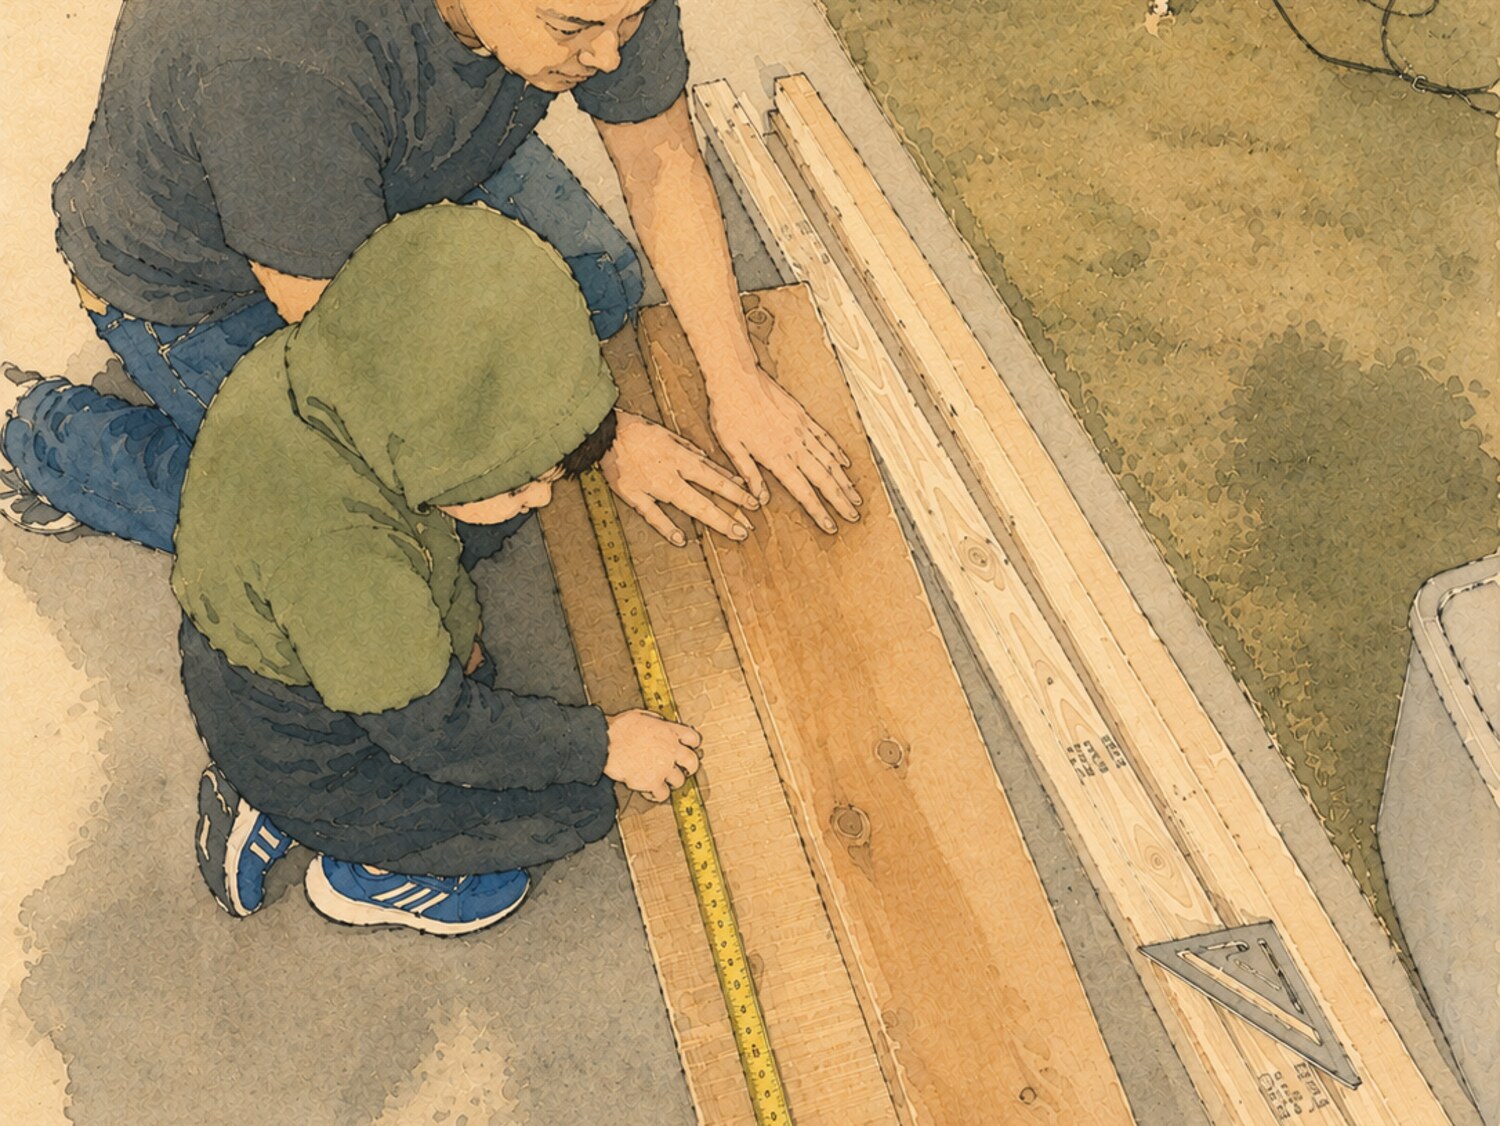
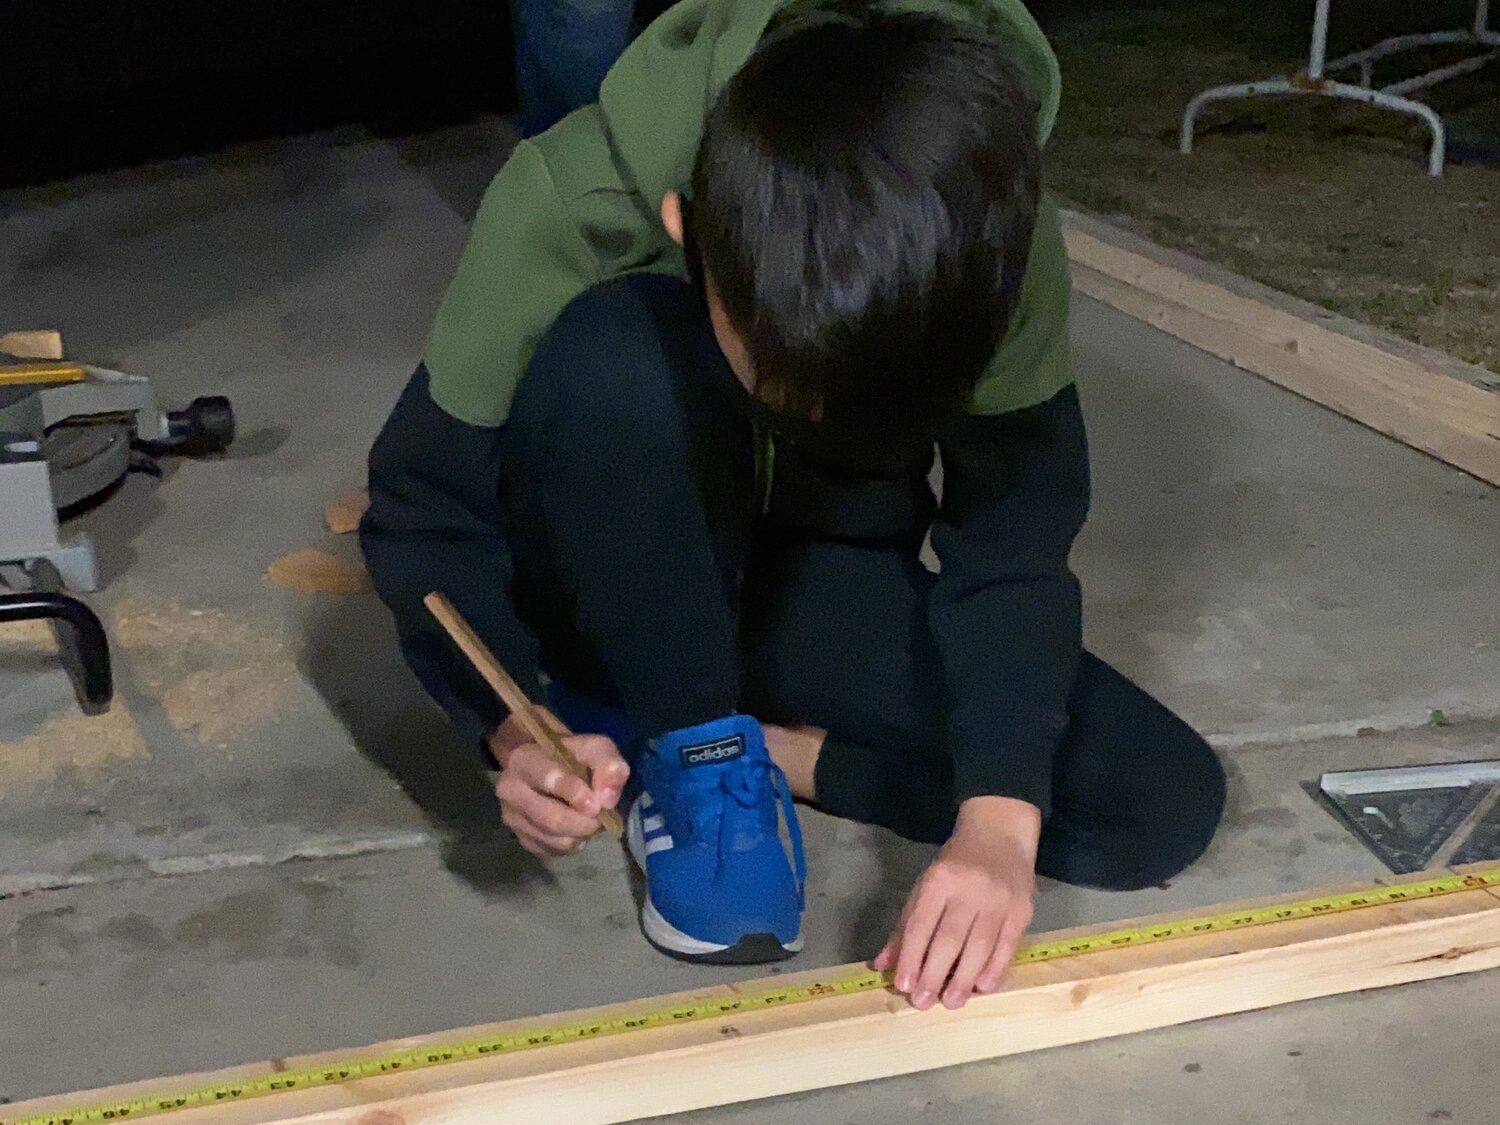
measure twice. cut once.
the build is the fast part.
Build your own.
A simple box — about 24 × 12 × 11 inches, from cedar fence boards. Here's the whole plan.
Every joint is the same: screw each board into the post from the outside — two screws per board at each end, so it can't pivot (bump to three if your boards run wider than about 6″). That's about 40 screws for the whole box. Nails are faster (Mark's nail gun flew); screws hold better — pre-drill so the cedar won't split. Any square scrap makes a post: a 2×2, or an old fence post.
Two tricks that help: slip a coin between boards for an even gap, and eyeball it level as you go.
Materials
- 5 cedar fence boards 5½″ × 6 ft
- 1 cedar 2×2 4 ft · posts
- Exterior screws 1¼″ · about 40
- Potting soil + seedlings
- Saw · drill · tape · square
Cut list · one box
- 4 long sides 24 in
- 4 short ends 11 in
- 4 corner posts 12 in
- 4 base slats 22 in
sizes are a starting point — change them to fit your space.
What it's actually for.
The box is the woodworking. But the part my son kept was the planning — watching a rough idea get mapped into something you could actually build, one cut at a time.
That's the thing you can't rush: seeing a plan become a real object your own hands helped make. The herbs that came later were a bonus. The lesson was in the sawdust.
Make it yours.
- Too young for the saw
- Then they're the measure-and-mark crew, and they paint. The adult owns the cutting — that's not a compromise, it's the right split.
- No power tools
- A handsaw and a square do the whole thing. Slower, quieter, just as square.
- No yard
- One box on a balcony grows more herbs than you'd guess. It only needs sun.
- Want it to last
- A coat of food-safe oil on the raw cedar and it'll go for years.
Take it with you
The Plan.
The whole box on paper — the drawings, the cut list, and a page to sketch and size your own before you cut. Print one for every box you build.
Download the plan · PDF5 pages · prints on any home printer · reuse it for every box